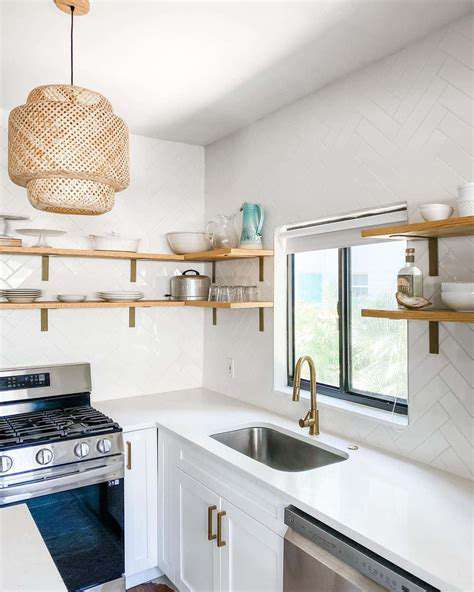
How to Organize Kitchen Tools and Storage in an Open Layout
Table of Contents
Kitchen Tools Evaluation and Space Analysis Techniques
Creative Solutions for Vertical Space Utilization
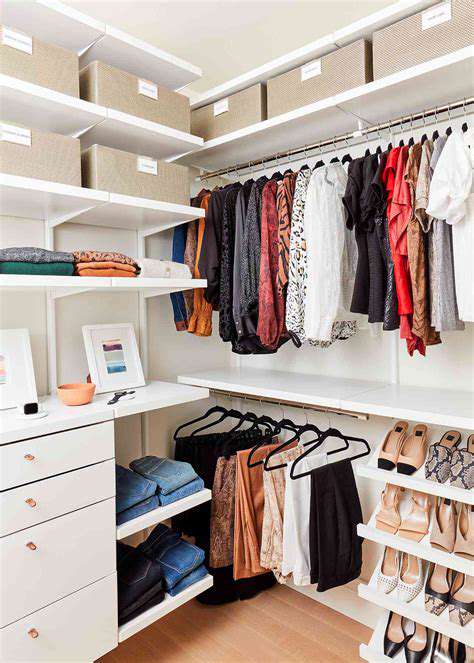
Application of Open Shelving and Aesthetic Balance
Smart Guide to Multifunctional Furniture Choices
The Art of Flexible Pairing with Storage Baskets
1. Tool Evaluation and Space Planning
1.1 Comprehensive Inspection of Kitchen Tools
Open all the kitchen drawer cabinet doors and spread all the tools on the countertop. You will be surprised to find at least 3 gadgets with overlapping functions gathering dust! Sort them into three piles based on usage frequency: those used daily (wok/spatula), those used occasionally (waffle maker), and those that haven’t moved in years (ice cream machine accessories).
Don’t regret those impulsive purchases; minimalism is the way to go. Remember the ceramic knife set you bought on sale last time? The chef's knife can actually handle 90% of your chopping tasks.
1.2 Becoming a Space Magician
Use a tape measure to measure every corner of the kitchen, especially those forgotten gap spaces. The 15cm gap between the fridge and the cabinet? Perfect for a movable spice rack. The mysterious space between the upper cabinets and the ceiling? Customize some flat storage boxes for holiday tableware.
Key areas should be zoned for functionality: set up a 'cleaning supply station' with sponges/dish soap within 3 steps of the sink; create a 'command center' next to the stove for commonly used spices and spatulas. When the workflow is smooth, cooking feels like waltzing.
1.3 Storage Gadget Shopping Guide
Don’t be dazzled by trendy storage items! Start with a needs checklist:
✓ Drawers too deep? Need to layer.
✓ Where is the lid for the pot always going?
✓ Grains prone to moisture?
Then choose solutions accordingly. For example, a rotating spice rack is more suitable for small spaces than regular dividers, and a magnetic knife holder frees up countertop space and promotes ventilation.
2. Secrets to Vertical Space Development
2.1 Transformation of Upper Cabinets
Install a pull-down basket in the upper cabinets, and even shorter individuals can easily access items on the top shelf. Practical tests show that this modification can increase space utilization by 40%! Remember to choose designs with soft-close dampers to ensure quiet and safe operation.
2.2 Artistic Wall Storage
Perforated boards aren't just for tool rooms! Pair them with S-hooks and magnetic jars to turn frequently used kitchen tools into wall art. Adjust the display every week based on your mood, making cooking an artistic creation.
Refer to this creative combination:
🔸 Copper pot + wooden cutting board = vintage style
🔸 Enamel pot + green plants = fresh style
🔸 Stainless steel utensils + neon lights = industrial style
2.3 Treasure Zone Behind Doors
Don’t underestimate the space on the inside of cabinet doors! Adhesive storage boxes can hold cling film/foil, while door-mounted cutting board racks free up countertop space. Pay attention to weight limits—don’t let the door turn into a game of Tetris.
3. Aesthetics of Open Storage
3.1 The Golden Rule of Display
Open shelving should follow the '30-70 rule': 70% functional items + 30% decorative items. Display your daily mugs in a rainbow gradient, interspersed with scented candles or mini succulents, ensuring both practicality and beauty.
3.2 Tips for Dust and Grease Prevention
Open storage is most afraid of becoming a 'dust vacuum'! Try these tricks:
✓ Install invisible LED strip lights at the bottom of upper cabinets for both illumination and to reduce dust accumulation.
✓ Dust quickly with an electrostatic duster weekly.
✓ Keep oil-prone spice bottles in covered glass jars.
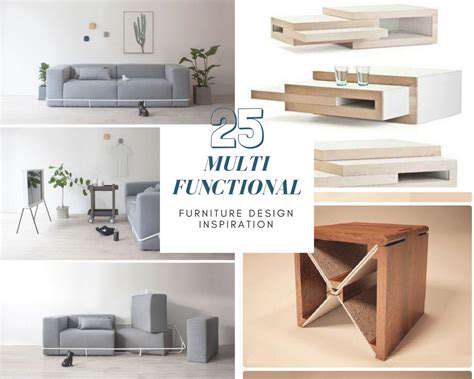
4. The Magic of Transformable Furniture
4.1 72 Transformations of Dining Tables
Select a height-adjustable island: set it to bar height with tall stools for breakfast, and lower it back to standard countertop height for kneading dough. Hidden track outlets meet various small appliances needs; this is true space alchemy!
4.2 Hidden Skills of Chairs
Storage stools not only provide seating; open the lid and you have a snack storage. Choose waterproof fabric versions to also serve as shoe change benches on rainy days—super cost-effective, serving three purposes.
5. Advanced Ways to Use Storage Containers
5.1 Material Mixing Techniques
Rattan baskets allow root vegetables to breathe while looking beautiful, acrylic sealed jars keep dry goods clearly visible, and magnetic spice jars stick to the side of the range hood for easy access. Different materials create a unique sense of layered texture.
5.2 Labeling Tricks
Discard rigid printed labels; try these creative ideas:
✓ Use wine cork slices as natural labels.
✓ Write directly on colored chalk paint walls.
✓ Use magnetic photo clips to display beautiful pictures of ingredients.
Read more about How to Organize Kitchen Tools and Storage in an Open Layout


Hot Recommendations
- Creative Living Room Ideas for Seamless TV Wall Integration and Dynamic Lighting
- Planning a Living Room with Impactful TV Backgrounds and Seating Options
- Innovative Bedroom Concepts to Transform Your Sleep and Storage Experience
- Modern Study Solutions for a Dual Purpose Office and Reading Area
- Modern Bathroom Ideas Featuring Wet Dry Separation and Safety Enhancements
- Expert Advice for Creating a Study That Supports Both Work and Personal Development
- Practical Bathroom Ideas for Enhancing Safety in Compact Areas
- Modern Children's Room Inspirations Focused on Color and Growth
- Creative Ideas for a Children's Room That Combines Safety with Modern Style
- Modern Bathroom Trends Enhancing Safety in Compact Spaces